> ## Documentation Index
> Fetch the complete documentation index at: https://help.draftable.com/llms.txt
> Use this file to discover all available pages before exploring further.
# AWS load balancer configuration example for your EC2 instance
> A load balancer **serves as the single point of contact for clients**. The load balancer distributes incoming application traffic across multiple targets, such as EC2 instances, in multiple Availability Zones. This increases the availability of your application.
**This documentation is for API Self-Hosted Version 2 (Legacy)**
Version 2 is a legacy deployment model. All new customers **must** use Version 3, which features a modern multi-container architecture with improved security and performance.
👉 [Get started with API Self-Hosted v3](/hc/en-us/articles/51133475373465-API-Self-Hosted-v3-Quick-Start-Guide)
This guide shows how to setup an example **Classic load balancer** for you EC2 Draftable instance.
## Before you begin
Ensure you have configured/prepared the following before creating your load balancer
* Ensure your VPC and EC2 instances are prepared. Assistance for [AWS VPC and instance configuration](https://docs.aws.amazon.com/elasticloadbalancing/latest/classic/elb-backend-instances.html#set-up-ec2).
* Launch the EC2 instances that you plan to register with your load balancer. Ensure that the security groups for these instances allow HTTP access on port 80.
## Create and set your load balancer type
Open the Amazon EC2 console at [https://console.aws.amazon.com/ec2/](https://console.aws.amazon.com/ec2/)
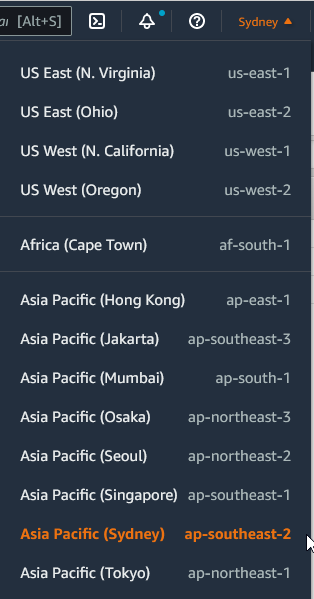
On the navigation bar, choose a Region for your load balancer. Be sure to select the same Region that you selected for your EC2 instances.
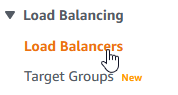
 On the navigation pane, under **LOAD BALANCING**, choose **Load Balancers**.
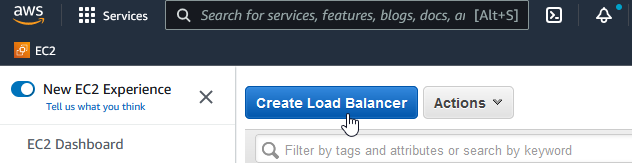
 Choose **Create Load Balancer**.
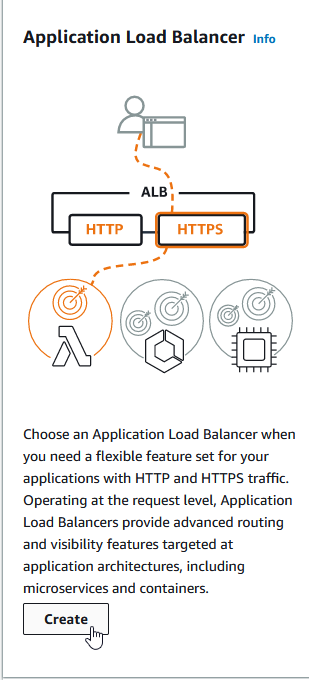
 In this example we are going to choose the **Classic Load Balancer.** Click **Create**.
 ## Configure your load balancer
We now configure the load balancer, this includes information such as a name, a network, and a listener.
A *listener* is a process that checks for connection requests. It is configured with a protocol and a port for front-end (client to load balancer) connections and a protocol and a port for back-end (load balancer to instance) connections. In this tutorial, you configure a listener that accepts HTTP requests on port 80 and sends them to your instances on port 80 using HTTP.
### Basic configuration
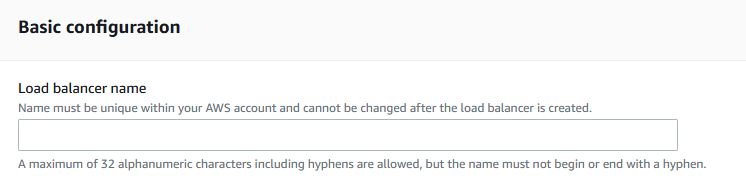
Type a name for your load balancer.
## Configure your load balancer
We now configure the load balancer, this includes information such as a name, a network, and a listener.
A *listener* is a process that checks for connection requests. It is configured with a protocol and a port for front-end (client to load balancer) connections and a protocol and a port for back-end (load balancer to instance) connections. In this tutorial, you configure a listener that accepts HTTP requests on port 80 and sends them to your instances on port 80 using HTTP.
### Basic configuration
Type a name for your load balancer.
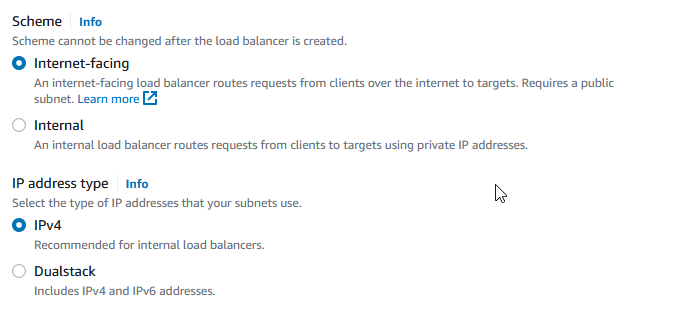
 For **Scheme** and **IP address type,** select *Internet-facing* and *IPv4* respectively. If you require different routing please refer to your own use-case for the correct settings.
 ### Network mapping
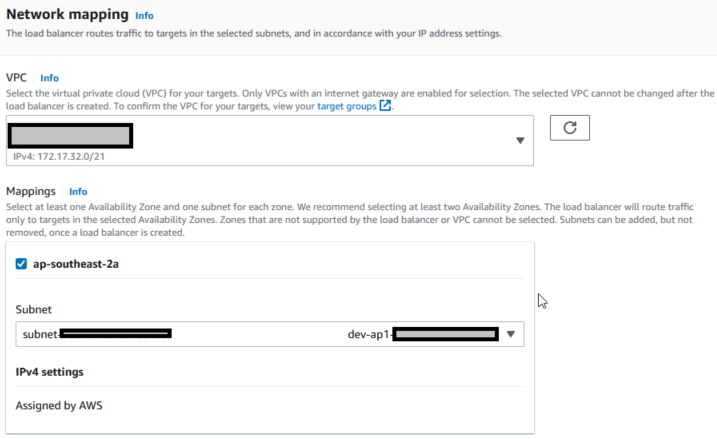
There are two components for **Network mapping** which are the **VPC** selection and **Mapping** configuration:
* Select a **VPC** which will align to your target groups. Ensure you select the right **VPC** at this stage as you cannot change the **VPC** after configuring your load balancer.
* For **Mappings**, select at least one available public subnet in the dropdown box. To improve the availability of your load balancer, select more than one public subnet. You can add at most one subnet per Availability Zone.
### Network mapping
There are two components for **Network mapping** which are the **VPC** selection and **Mapping** configuration:
* Select a **VPC** which will align to your target groups. Ensure you select the right **VPC** at this stage as you cannot change the **VPC** after configuring your load balancer.
* For **Mappings**, select at least one available public subnet in the dropdown box. To improve the availability of your load balancer, select more than one public subnet. You can add at most one subnet per Availability Zone.
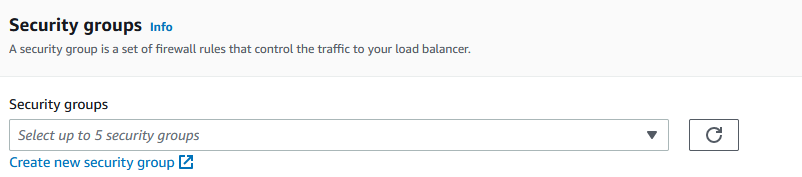
 ### Security groups
On the **security groups** dropdown box, select a security group that fits your security configuration scheme for your load balancer. If you need to create a new security group for you load balancer, select **create new security group** and assign it to this load balancer.
### Security groups
On the **security groups** dropdown box, select a security group that fits your security configuration scheme for your load balancer. If you need to create a new security group for you load balancer, select **create new security group** and assign it to this load balancer.
 ### Listeners and routing
A **listener** is a process that checks for connection requests, using the protocol and port you configure. Traffic received by the listener is then routed per your specification. You can specify multiple rules and multiple certificates per listener after the load balancer is created.
Select a **Protocol, Port** and \*\*Default action/\*\***target group** for each listener. These settings are critical to ensure that traffic routing to your EC2 instance is properly configured to suit your load balancer use case. Ensure that your target groups have been properly configured as to route traffic back to your EC2 instance.
### Listeners and routing
A **listener** is a process that checks for connection requests, using the protocol and port you configure. Traffic received by the listener is then routed per your specification. You can specify multiple rules and multiple certificates per listener after the load balancer is created.
Select a **Protocol, Port** and \*\*Default action/\*\***target group** for each listener. These settings are critical to ensure that traffic routing to your EC2 instance is properly configured to suit your load balancer use case. Ensure that your target groups have been properly configured as to route traffic back to your EC2 instance.
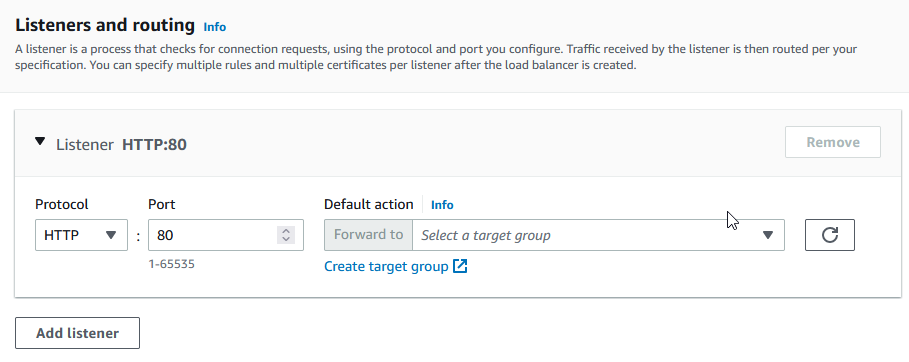 You can add more listeners by clicking **add listener.**
If you require assistance on how target groups work, refer to the [AWS documentation](https://docs.aws.amazon.com/elasticloadbalancing/latest/application/load-balancer-target-groups.html).
### Summary and creation
Check the **Summary** page and ensure that all the configurations are accurate.
You can add more listeners by clicking **add listener.**
If you require assistance on how target groups work, refer to the [AWS documentation](https://docs.aws.amazon.com/elasticloadbalancing/latest/application/load-balancer-target-groups.html).
### Summary and creation
Check the **Summary** page and ensure that all the configurations are accurate.
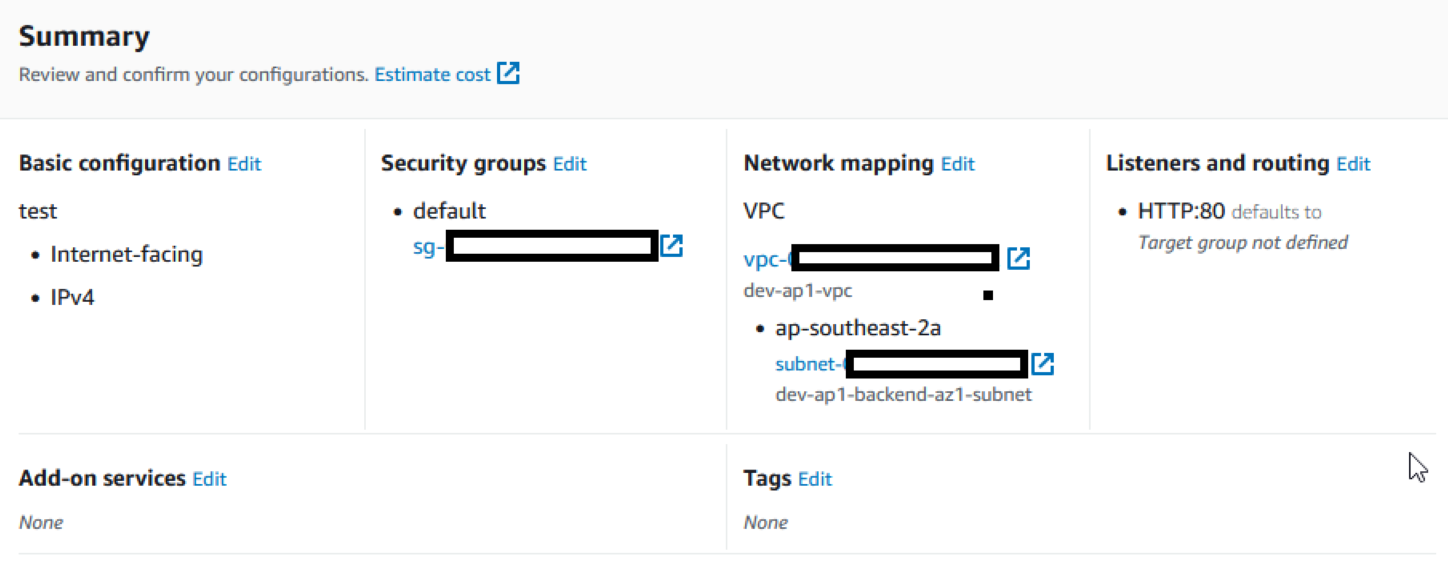 Once you have verified that all information is accurate click **Create load balancer.**
## Verify your load balancer
Go to the **Load Balancers** page, and select your new load balancer.
On the **Description** tab, see the **Status** row.
Once you have verified that all information is accurate click **Create load balancer.**
## Verify your load balancer
Go to the **Load Balancers** page, and select your new load balancer.
On the **Description** tab, see the **Status** row.
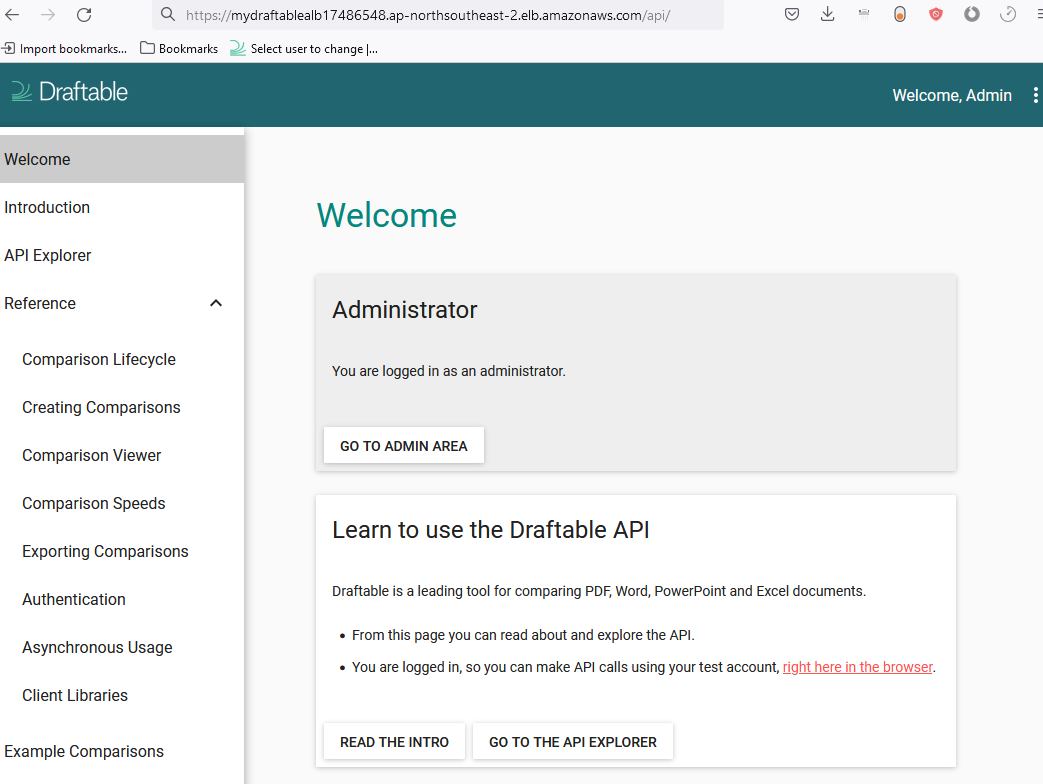
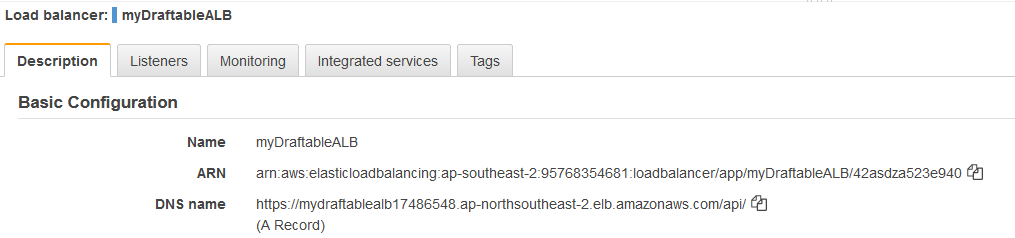 After at least one of your EC2 instances is in service, you can test your load balancer. Copy the string from **DNS name** (for example, my-load-balancer-1234567890.us-west-2.elb.amazonaws.com) and paste it into the address field of an internet-connected web browser. If your load balancer is working, you see the default page of your server.