Printing Redline outputs
1
Start by opening the New Comparison window, selecting a Redline comparison as the comparison type. Choose your documents, and then hit Compare.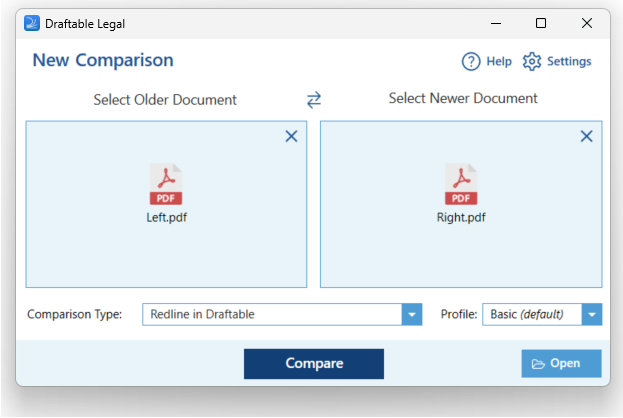
2
On the top ribbon menu of the comparison viewer, select the Print option. From here you can select the following options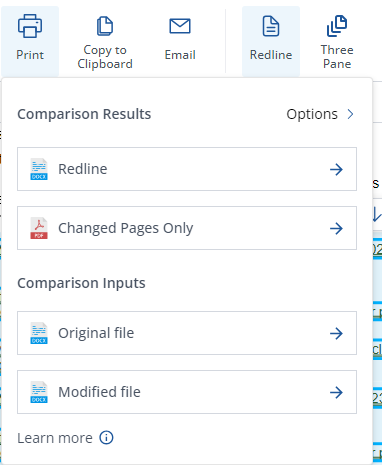
- From here you can select from four options:
- Redline (DOCX): Print the comparison as a Redline output as a DOCX file
- Changed Pages Only: This output shows only the changed pages between the older and newer documents. It marks up all changes in the changed pages as a Redline view
- Original file: An copy of the older document
- Modified file: An copy of the newer document
3
Click on the Print export option and you will be prompted to print your output and follow the printing dialog that appears.
Summary page
The summary page option can be shown by selecting the options icon in the email output window.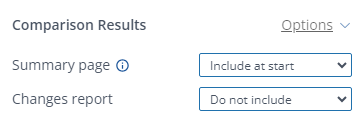
- Include at end: Adds a summary page at the end of the output
- Include at start: Adds a summary page at the start of the output
- Do not include: Does not add a summary page