Saving Redline outputs
1
Start by running a Redline comparison (using the Redline viewer comparison type).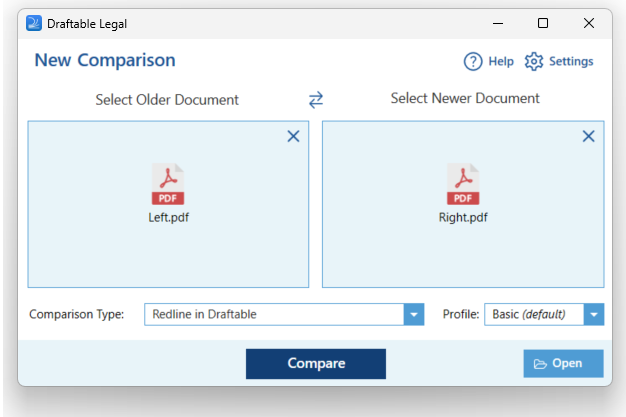
2
On the top ribbon menu of the comparison viewer, select the Save option. From here you can select the following options: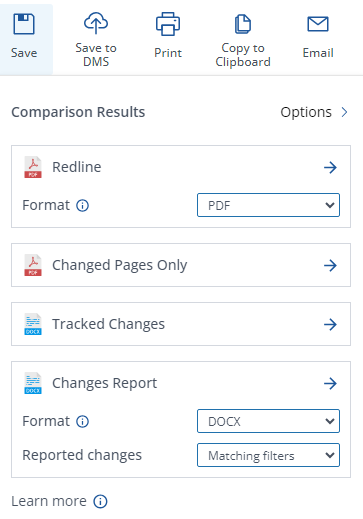
- Redline (PDF or DOCX): This output shows the newer document and marks up all changes on top of that in the Redline view. You can select between DOCX and PDF file-type options.
- Changed Pages Only: This output shows only the changed pages between the older and newer document. It marks up all changes in the changed pages as a Redline view
- Tracked Changes: This output is an MS Office document with the changes shown in Track Changes (a Microsoft Office feature)
-
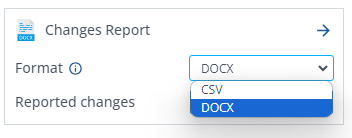
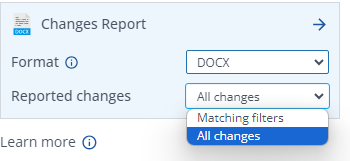
Changes report: Creates a report of all the changes detected within the comparison. This allows users to share the Change List, along with any Tags and Notes with colleagues or external parties via the output options
- A drop-down list will provide options to export changes as a DOCX or exporting to a .csv using either the All changes or the Matching filters.
-
AI-Ready Redline: Saves a portable text representation of all changes (moves, insertions, and deletions) as a
.mdfile, formatted for use with generative AI tools. A Reported Changes dropdown lets you choose between All changes or Matching filters. For full details, see AI-Ready Redline: Export changes for use with generative AI tools.
3
Click the preferred output and a save dialog will appear to let you choose where you save the file.
4
Once it is saved is complete, a notification will appear to confirm that the output has been created. Clicking this notification will open the output file.
Summary page
The summary page option can be shown by selecting the options icon in the email output window.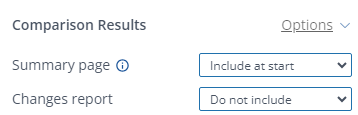
- Include at end: Adds a summary page at the end of the output
- Include at start: Adds a summary page at the start of the output
- Do not include: Does not add a summary page