1. Configuring the Custom Error Message
The custom error message that users see can be configured via Group Policy. This allows you to enter a personalized message that will be displayed whenever an error occurs. Note: Please always ensure you are using the latest ADMX/ADML templates which can be found here.Steps to Edit the Error Message:
1
Open your preferred Group Policy Editor
2
Navigate to the group policy object “Configure customer error message”
3
Enable the setting and enter your custom error text in the provided field.
- Example: “An unexpected error has occurred. Please contact support.”
4
Apply and save the policy.

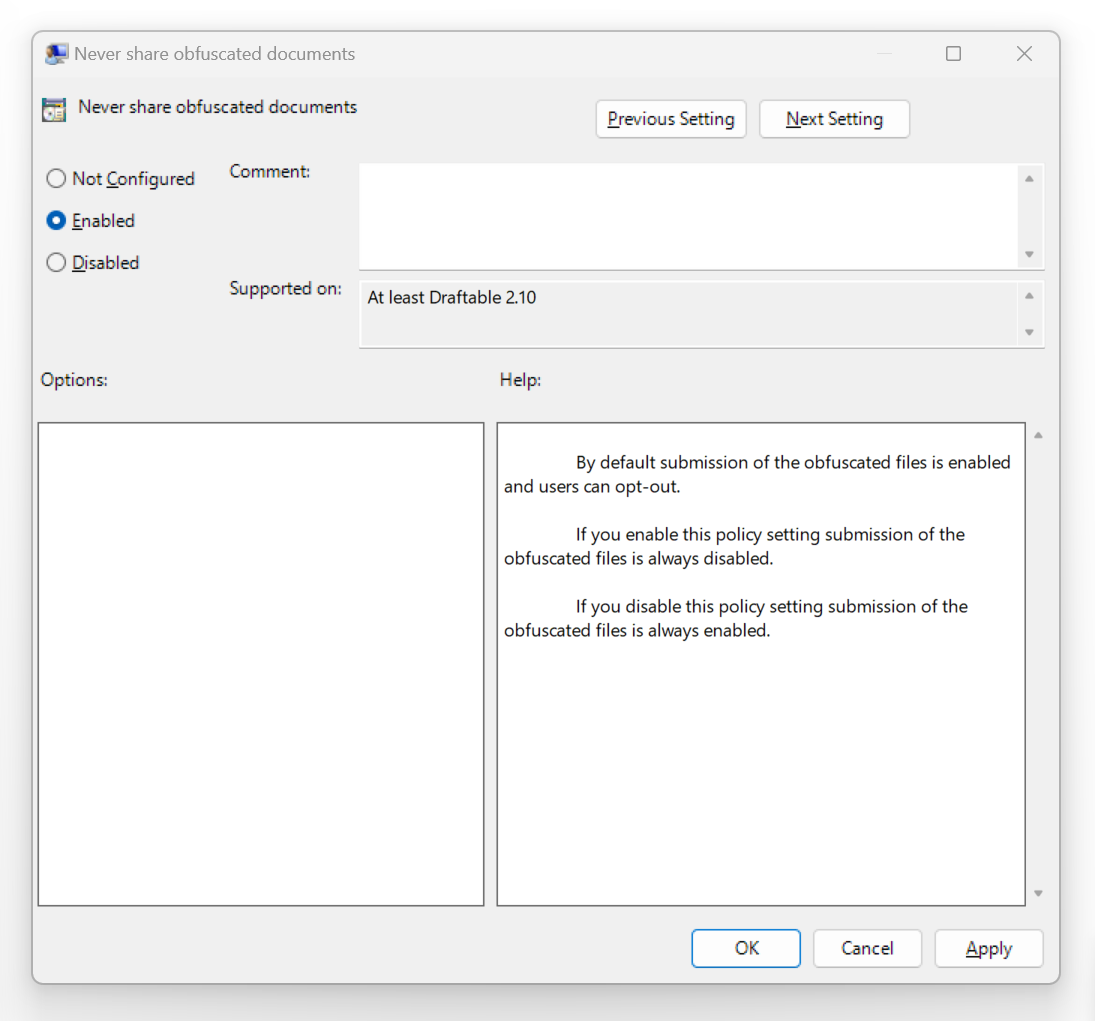
2. Allowing or Disabling File Attachments with Errors
By default, users can choose to attach obfuscated files when they report an error. You can control whether users are allowed to send such attachments by configuring the “Enable custom contact details” setting.Steps to Control File Attachments:
1
Open your preferred Group Policy Editor.
2
Navigate to the group policy object “Never Share Obfuscated Documents”
3
Enable the setting to not allow your users to share Obfuscated documents
4
Disabling this setting will allow users to share Obfuscated documents
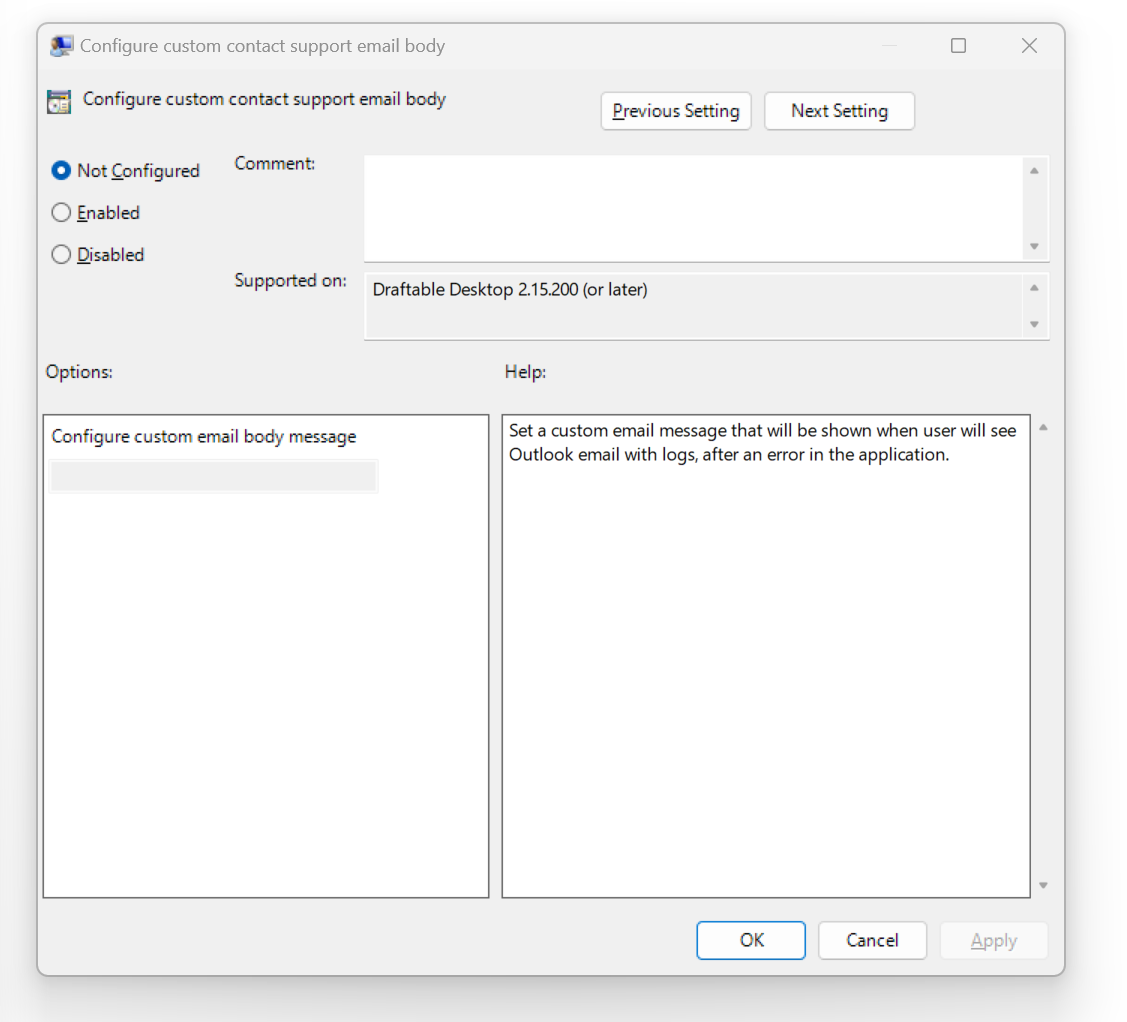
3. Configuring the Email Body for Error Reports
When an error occurs, Draftable Legal can generate an automatic email with the error details. You can customize the email body that is sent with the error log.Steps to Edit the Error Report Email Body:
1
Open your preferred Group Policy Editor.
2
Navigate to “Configure custom contact support email body”
3
Enable the setting and input the desired email body text.
- Example: “Please describe the issue you encountered and attach any relevant screenshots.”
4
Apply and save the policy.