This guide includes the process for both iManage cloud and on-premise, hence, both deployments of iManage are supported for this integration.Documentation Index
Fetch the complete documentation index at: https://help.draftable.com/llms.txt
Use this file to discover all available pages before exploring further.
Note regarding Machine Wide MSI installation for Draftable Legal and iManage integration
It is recommended that if are planning to use the Machine Wide MSI installer for your Draftable Legal installation, we highly recommend that you use the default install location if you also plan to integrate with iManage to reduce the likelihood of any issues during the integration process.iManage Cloud configuration
The iManage cloud configuration requires access to both Draftable Legal and an administrator-level(with access to control center) account for configuring Draftable within iManage.
Configuring Draftable Legal
Ensure you have logged into iManage on your Draftable Legal application. This depends on what version of Draftable you are using. If you are using Draftable version 25.9.300 or earlier, please follow the process below.
If you’re using Draftable version 25.10.000 or later, please see the following process:

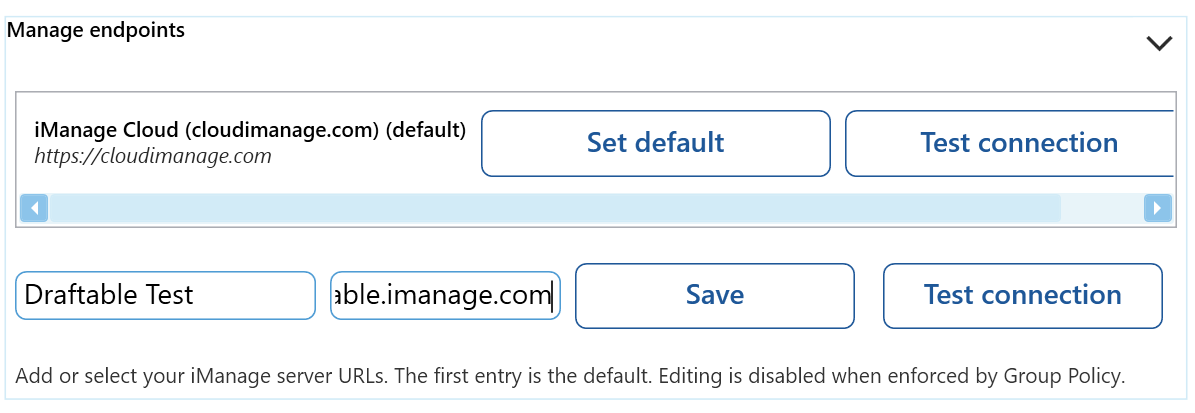
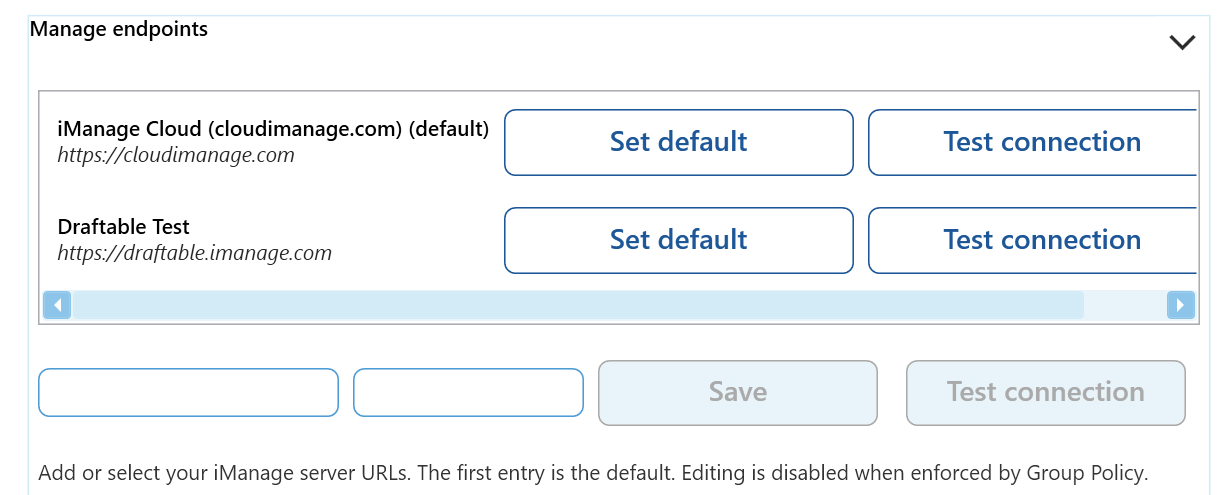
Enter your credentials for your iManage account (if they haven’t already been configured by Group Policy) by clicking the arrow in the “Manage endpoints” section.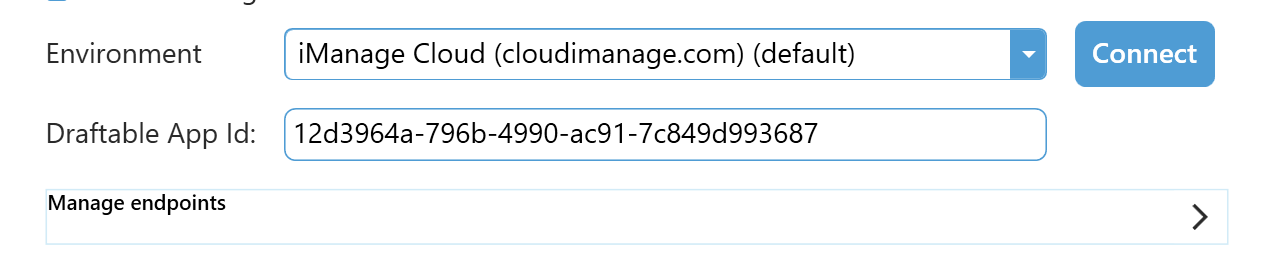


Configuring iManage cloud
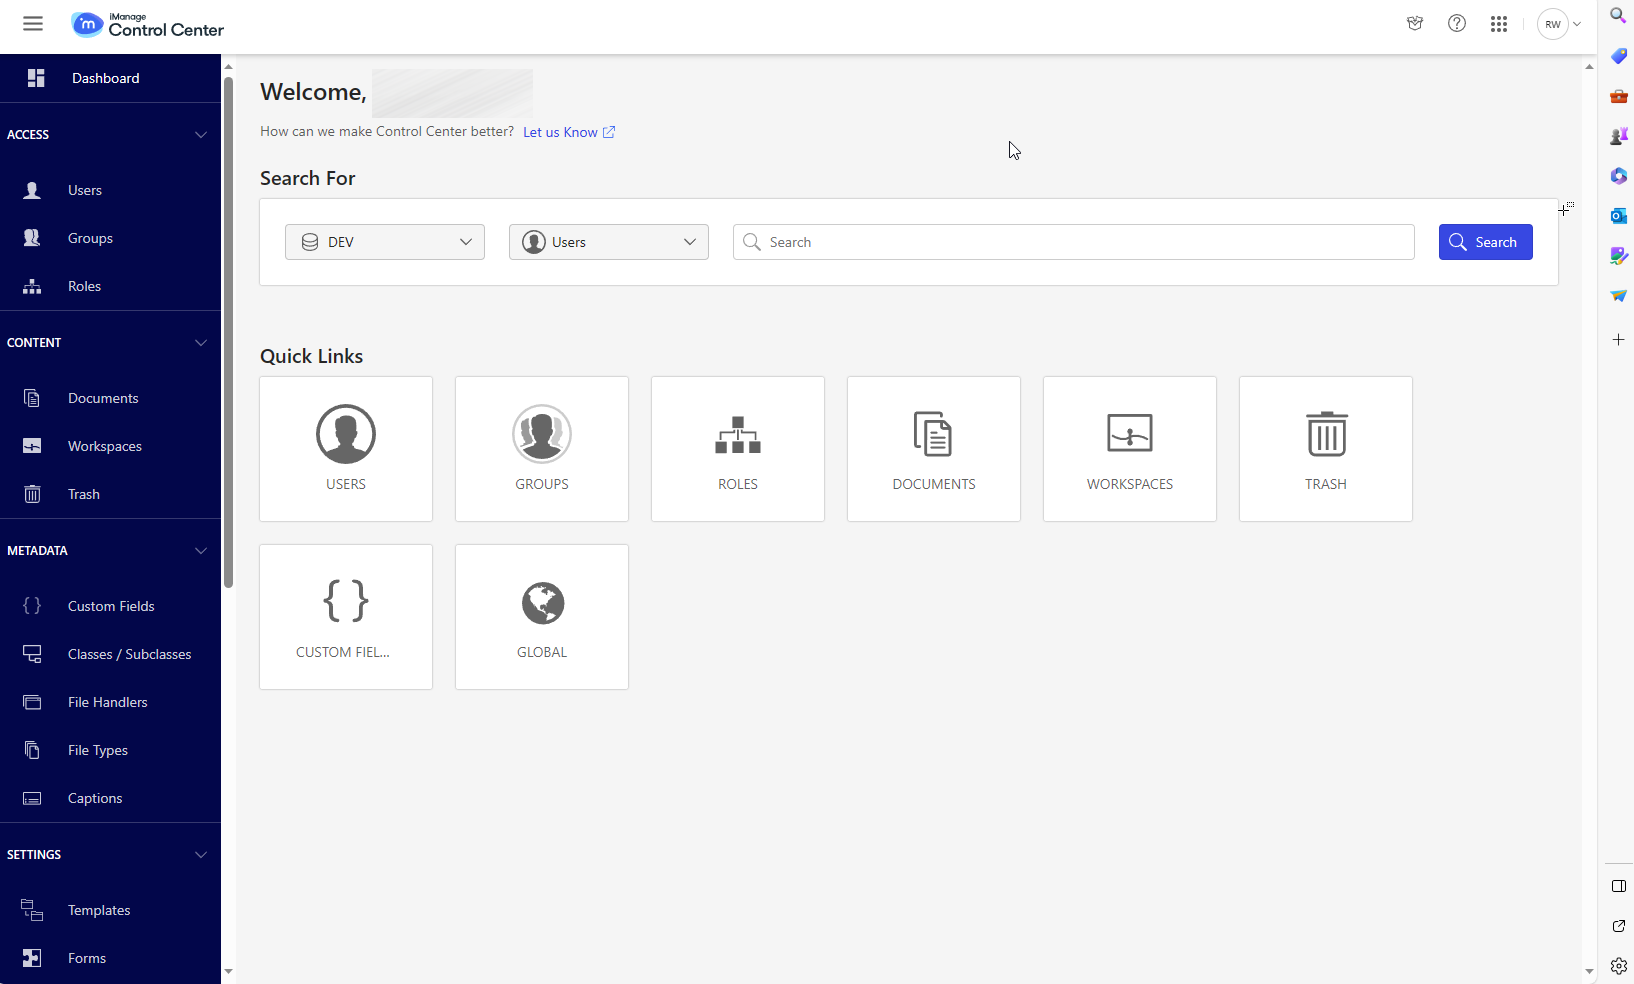
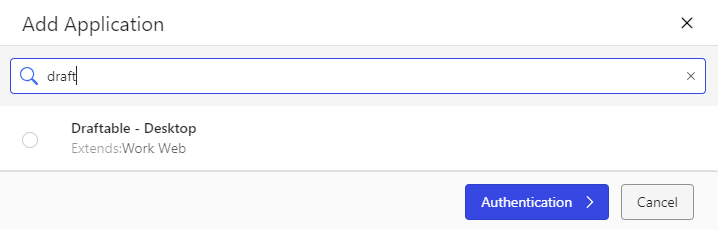
We need to complete a few steps in order to correctly integrate Draftable Legal in iManage, and also setup the context menus to allow your users to compare with Draftable within iManage cloud.Note: If you already have completed the application configuration within control center, and you want to setup context menus, you can skip to step 9.
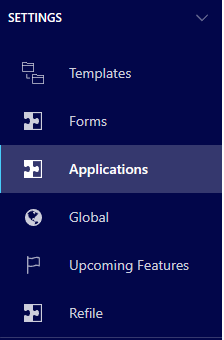

Now we configure the application, in the authentication section ensure we have the following settings configured:
Allow Refresh Token = Yes
Refresh Token Expiry = 365
Access Token Expiry = 30Once configured, select Access.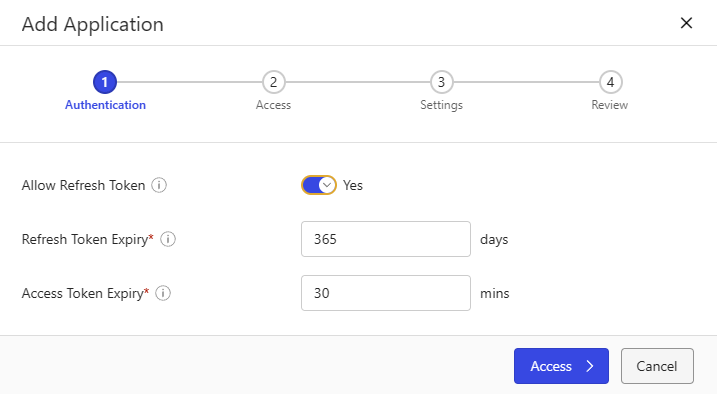
Allow Refresh Token = Yes
Refresh Token Expiry = 365
Access Token Expiry = 30Once configured, select Access.
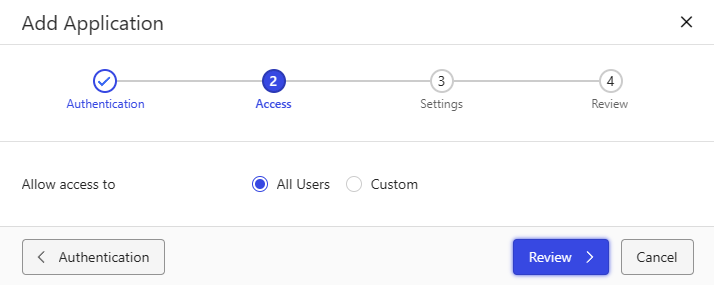
In the “Settings” window, ensure that the Draftable Communication Port is set to 4764. Then click Review.
Note: You can set this to a different value, however, this will require you to change the value on the client end as well via group policy. If you wish to change the port value, set it here within iManage to your desired value and also set the group policy for the Draftable communication port. For the group policy information please refer to this article.
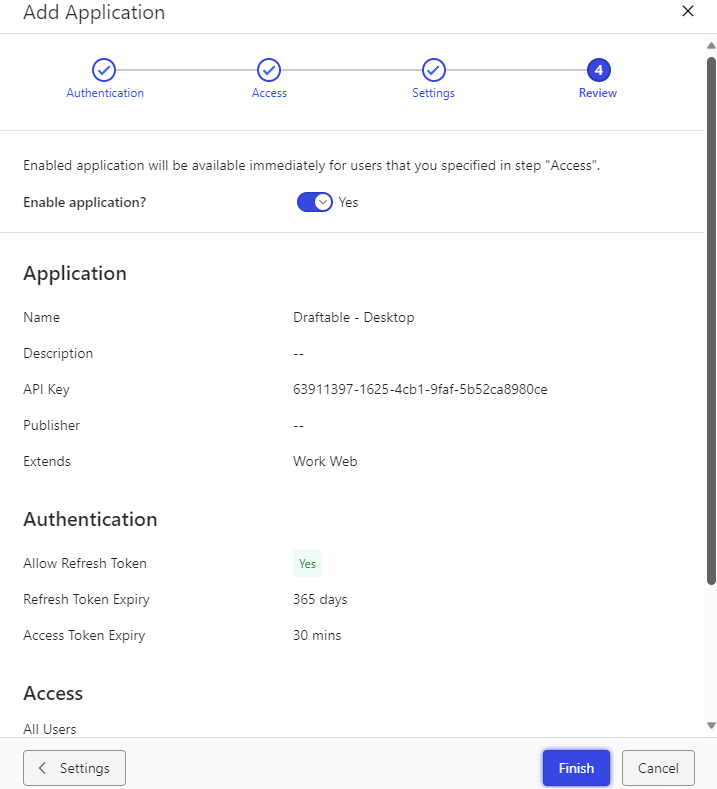
Now that the application is configured, we need to set up the web client context menus. In the left-hand menu bar, scroll until you see Work Clients, then select Web Client.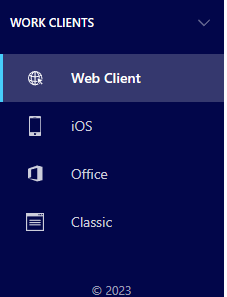
Within the web client section, select the context menus option to start editing the context menus.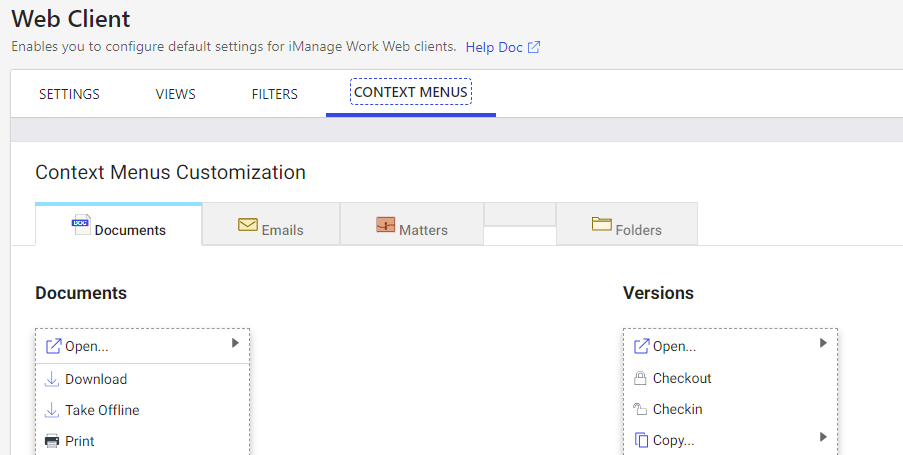
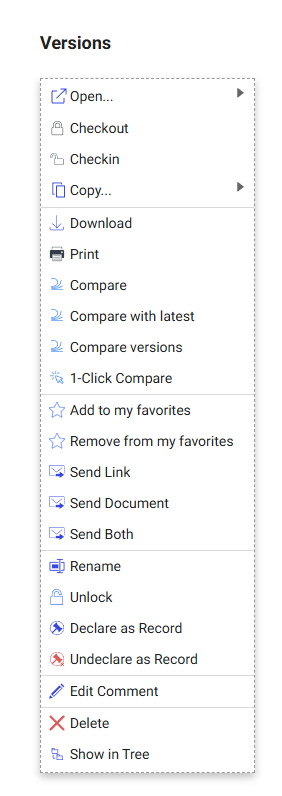
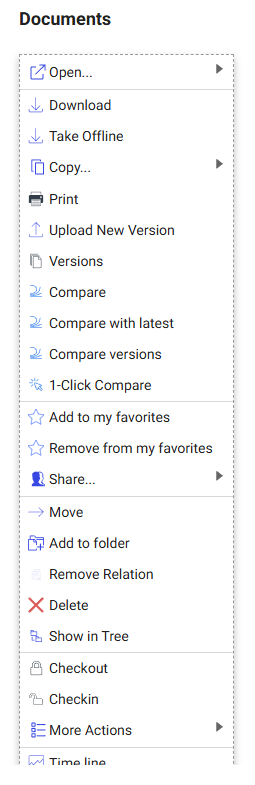
You will see two context menus, one for Documents, and another for Versions. We need to edit both in order to correctly configure. We will first configure Documents.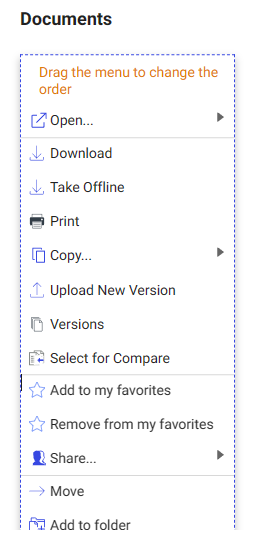
We first need to remove any options for Select for Compare, by clicking the X next to it. Do so before continuing to the next step.

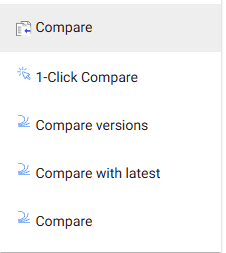
Select the Compare menu item, to add it to the menu. Repeat this for Compare Versions, 1-Click Compare and Compare with latest items as well.
!
Reorder the new menu option by selecting and dragging the Compare options to anywhere in your menu. See below for reference.

iManage On-Premise configuration
The iManage on-premise configuration requires access to both Draftable Legal and an administrator-level (with access to control center) account for configuring Draftable within iManage on-premise.Configuring Draftable Legal
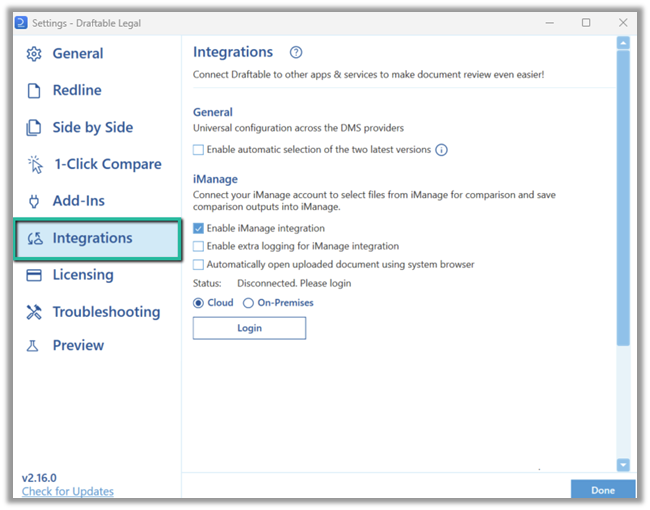
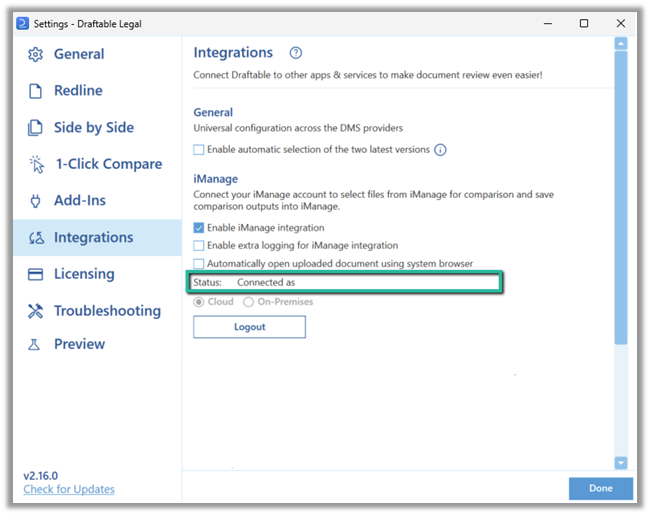
Firstly we need to ensure that we are logging into our On-Premise iManage account. Navigate to the Integrations section of the settings menu and select On-Premises. The Communication Port and Draftable App Id are prefilled, so you only need to add the Service URL of your On-Premise iManage server.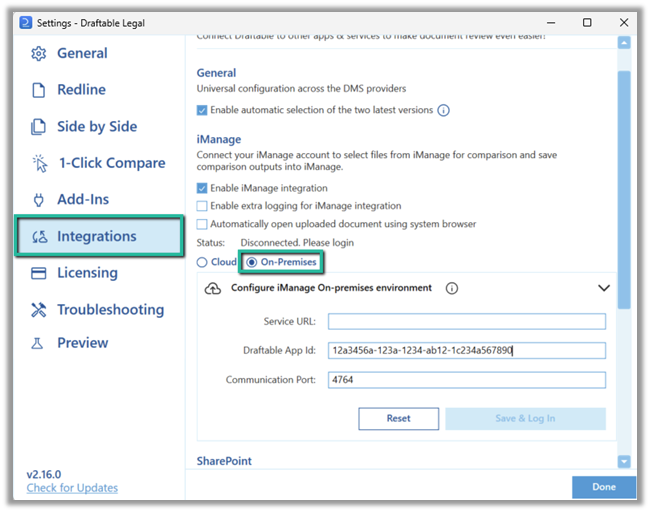
Configuring iManage on-premises


The following window will appear. Draftable now allows you to upload a package file, so we will select Upload Package.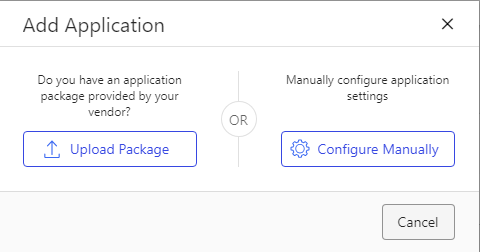
Navigate to the following location:Where 
<username> is the name of your account on the local machine, and Y.ZZ.XXX is the version number of Draftable, see below for an example.The following screen will appear. Since we added the package the information is prefilled. Click Authentication.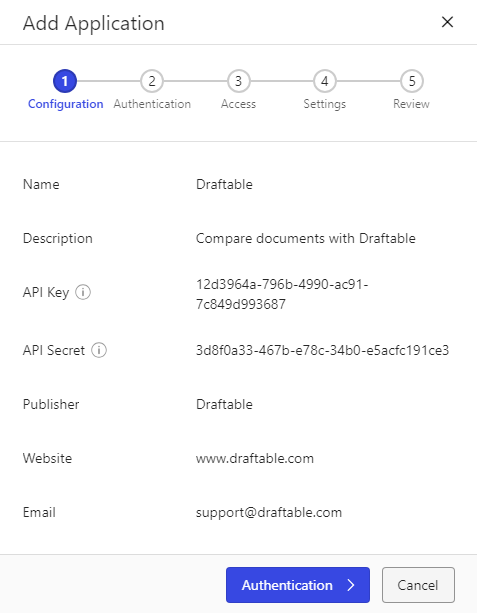
Again the information is prefilled, except for Allow Refresh Token, ensure this is ticked as Yes. Then click Access.
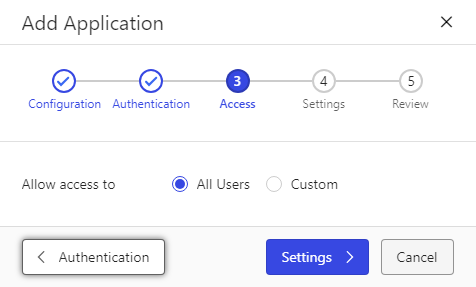
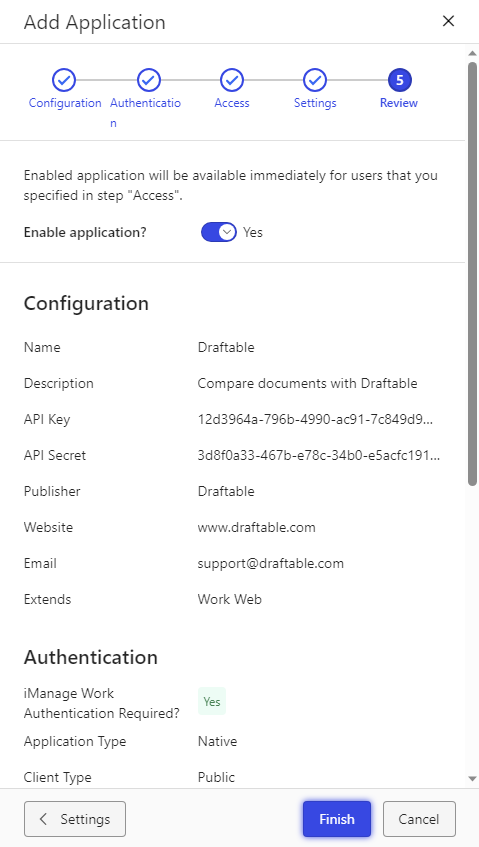
Again the information is prefilled, so just click Review.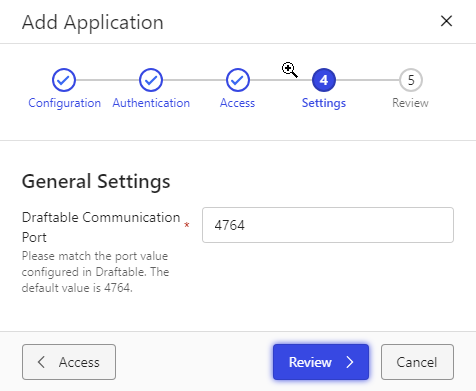
Note: You can set the Draftable Communication port to a different value, however, this will require you to change the value on the client end as well via group policy. If you wish to change the port value, set it here within iManage to your desired value and also set the group policy for the Draftable communication port. For the group policy information please refer to this article.
Now that the application is configured, we need to set up the web client context menus. In the left-hand menu bar, scroll until you see Work Clients, then select Web Client.
Within the web client section, select the context menus option to start editing the context menus.
You will see two context menus, one for Documents, and another for Versions. We need to edit both in order to correctly configure. We will first configure Documents.
You will see two context menus, one for Documents, and another for Versions. We need to edit both in order to correctly configure. We will first configure Documents.
We first need to remove any options for Select for Compare, by clicking the X next to it. Do so before continuing to the next step.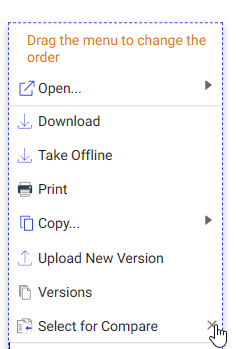
Select the Compare menu item, to add it to the menu. Repeat this for Compare Versions, 1-Click Compare and Compare with latest items as well.
Reorder the new menu option by selecting and dragging the Compare options to anywhere in your menu. See below for reference.